Aluminium-Fibreglass Installation Instructions.
May-2020
Step 1.
Determine where you would like your new cabinet to be mounted. It is important to mark out the outside shape of the Plaztek cabinet on your mounting area. A template could be used for this process. This will allow you to confirm that you have the necessary clearance for the cabinet and enough strength for your chosen area.
Step 2.
Make sure that once you have the desired placement of the cabinet you have no fuel lines, steering cables or electrical wires obstructing the area before proceeding any further. Remove fuel tanks if they are in close proximity and turn off the power if possible.
NOTE- PPE is required when using power tools.
Step 3.
Once you are happy with the placement take the following steps to fit your King StarBoard®
Plaztek cabinet. Firstly, using masking tape, tape the shape of the cabinet out on the required area. Secondly, measure in from the outside of the cabinet to the rear collar which forms your cut-out size. The use of masking tape allows you to mark out the shape of the cabinet without leaving any pen or scribe marks on the aluminium or fibreglass.
Pic 1-Masking out the area for the cut out size. Pic 2- Measuring the cut out size.


Step 4.
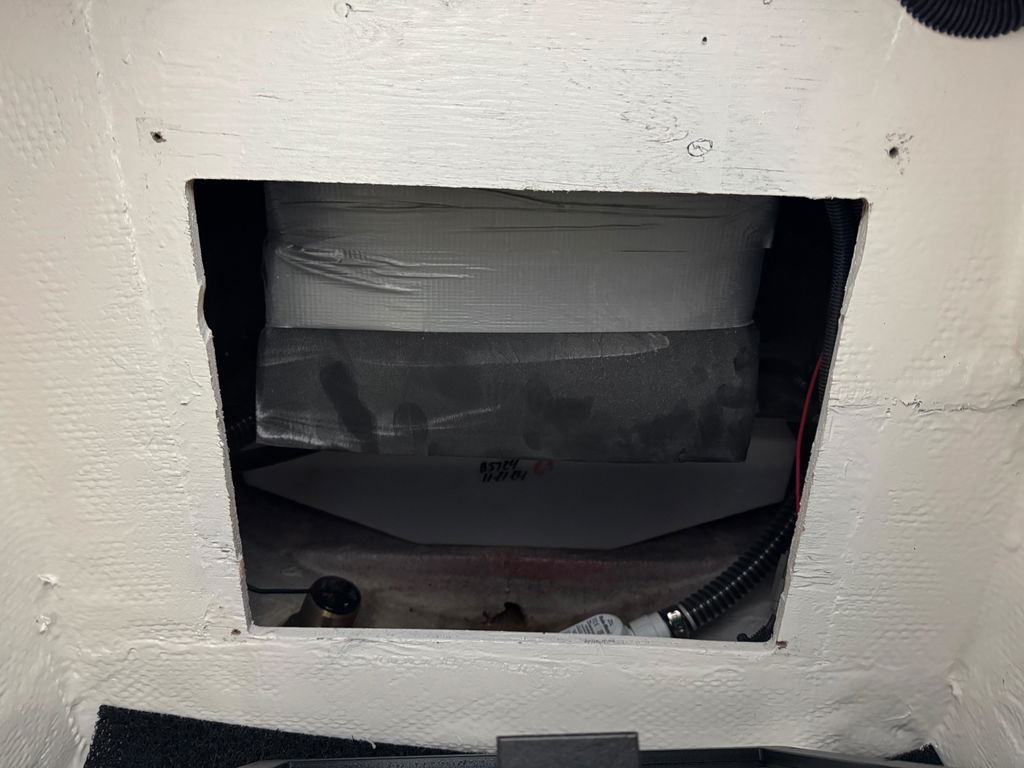
With the cabinet all marked out the next step is to cut the shape out. This will require a hole saw and jig saw to complete this task. Alternatively if you don’t have a hole saw you can drill a total of four 13mm holes, one in each corner. This will still leave the corners round as this is the best practice for any cut-outs.

along the marked line making sure that all cuts are straight as possible. Doing so will result in less trimming when doing a test fit. Example: Use a power tool like a grinder for aluminium with a 1mm cutting disc produced to cut
NOTE- When using a 1mm cutting disc on aluminium we recommend using wax on the blade as this will help with the cutting process.
Step 5.
Once the hole is cut out you can now test fit the cabinet, ensuring it is well fitted and that no more trimming is required. Before proceeding below, be thorough in double checking measurements. With the cabinet in place, start looking at the process of drilling the holes. Mark out the holes with the cabinet in place. This ensures you have the correct pattern when drilling. The use of support blocks is strongly recommended in this step so you know that everything is square and in place.

Step 6.
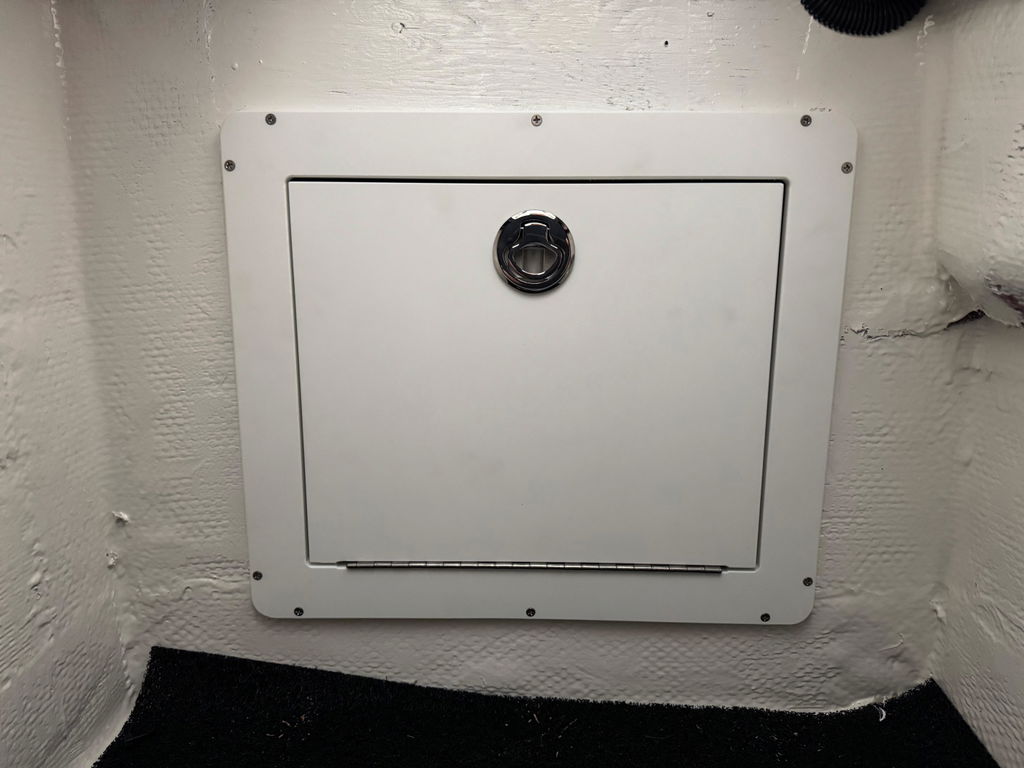
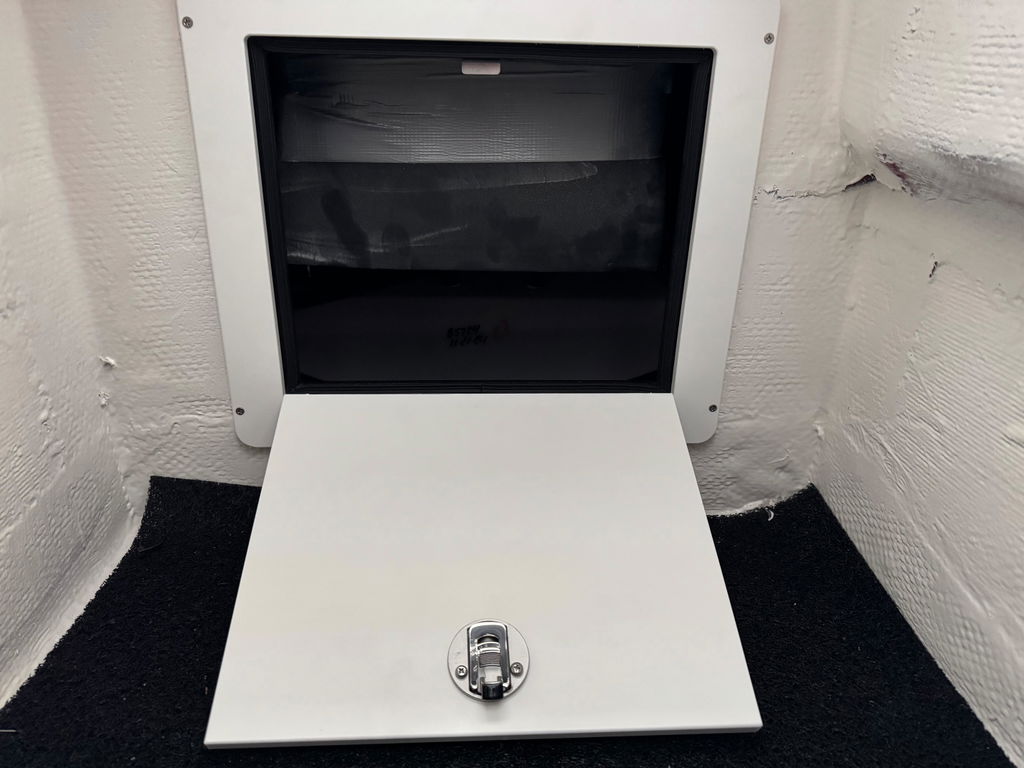
With the holes marked on the masking tape, you can now start drilling using a 3mm HSS drill bit. When drilling the holes in aluminium, use a centre punch so the drill bit does not wander off the mark and that it is drilled in the correct location. When drilling into fibreglass, use a vacuum cleaner to suck up the fibres and keep the area fibre free. Once the holes are drilled it is then time for a test fit, making sure all the holes are correct and the cabinet fits in place before the final fit off. This step is essential to ensuring the support blocks are in place and the door gap of 3mm is even.
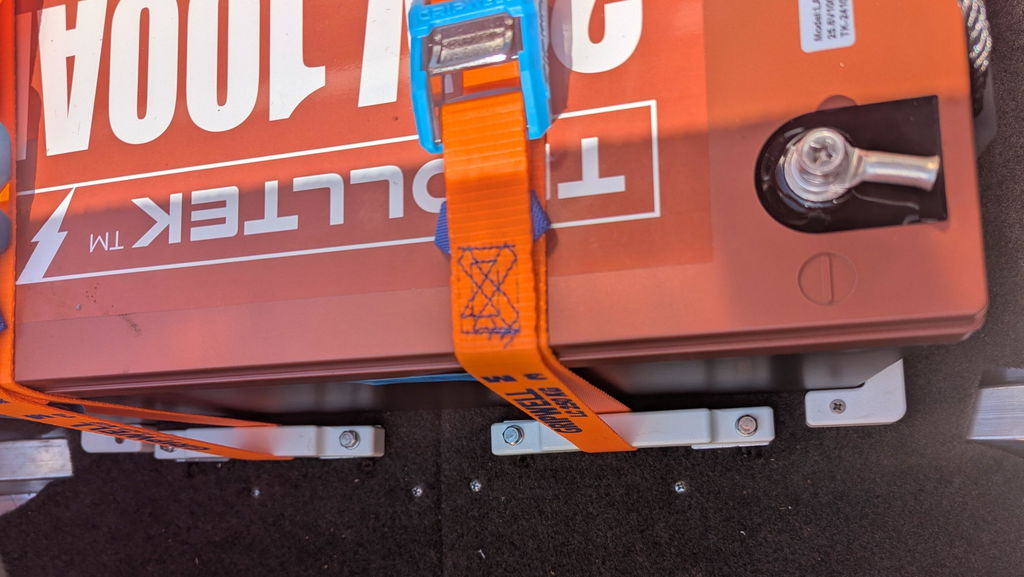
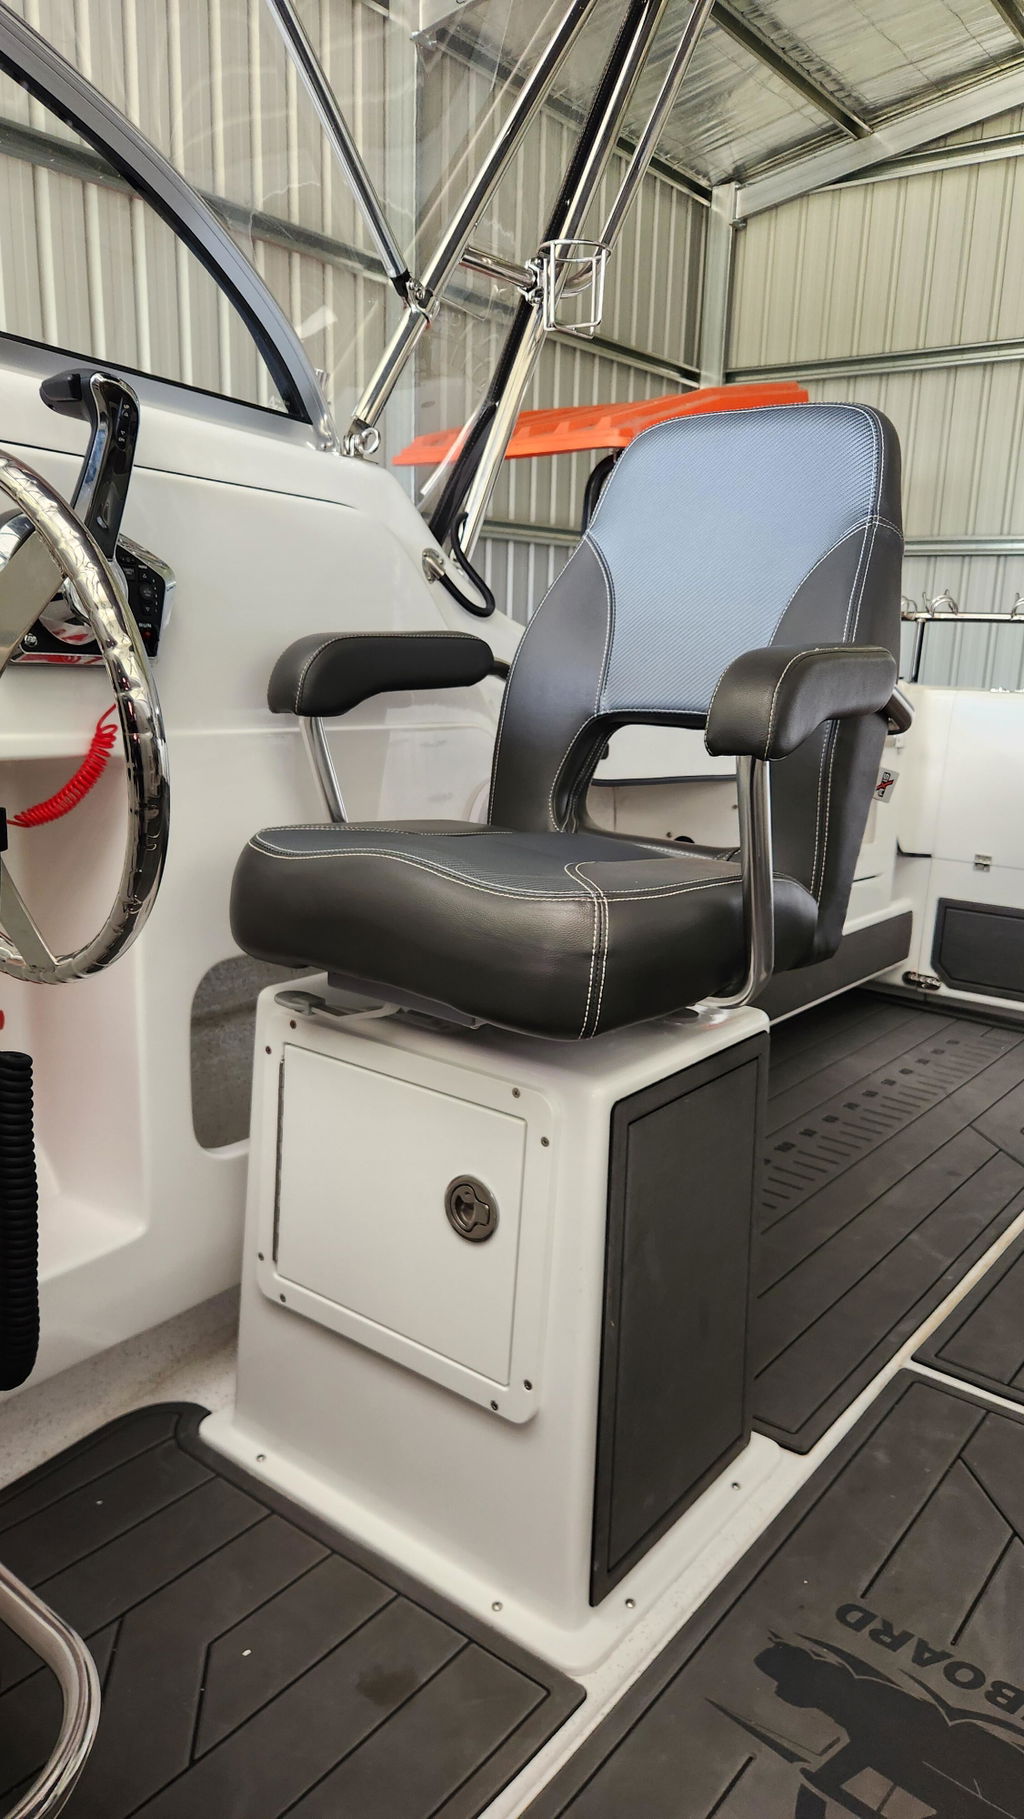
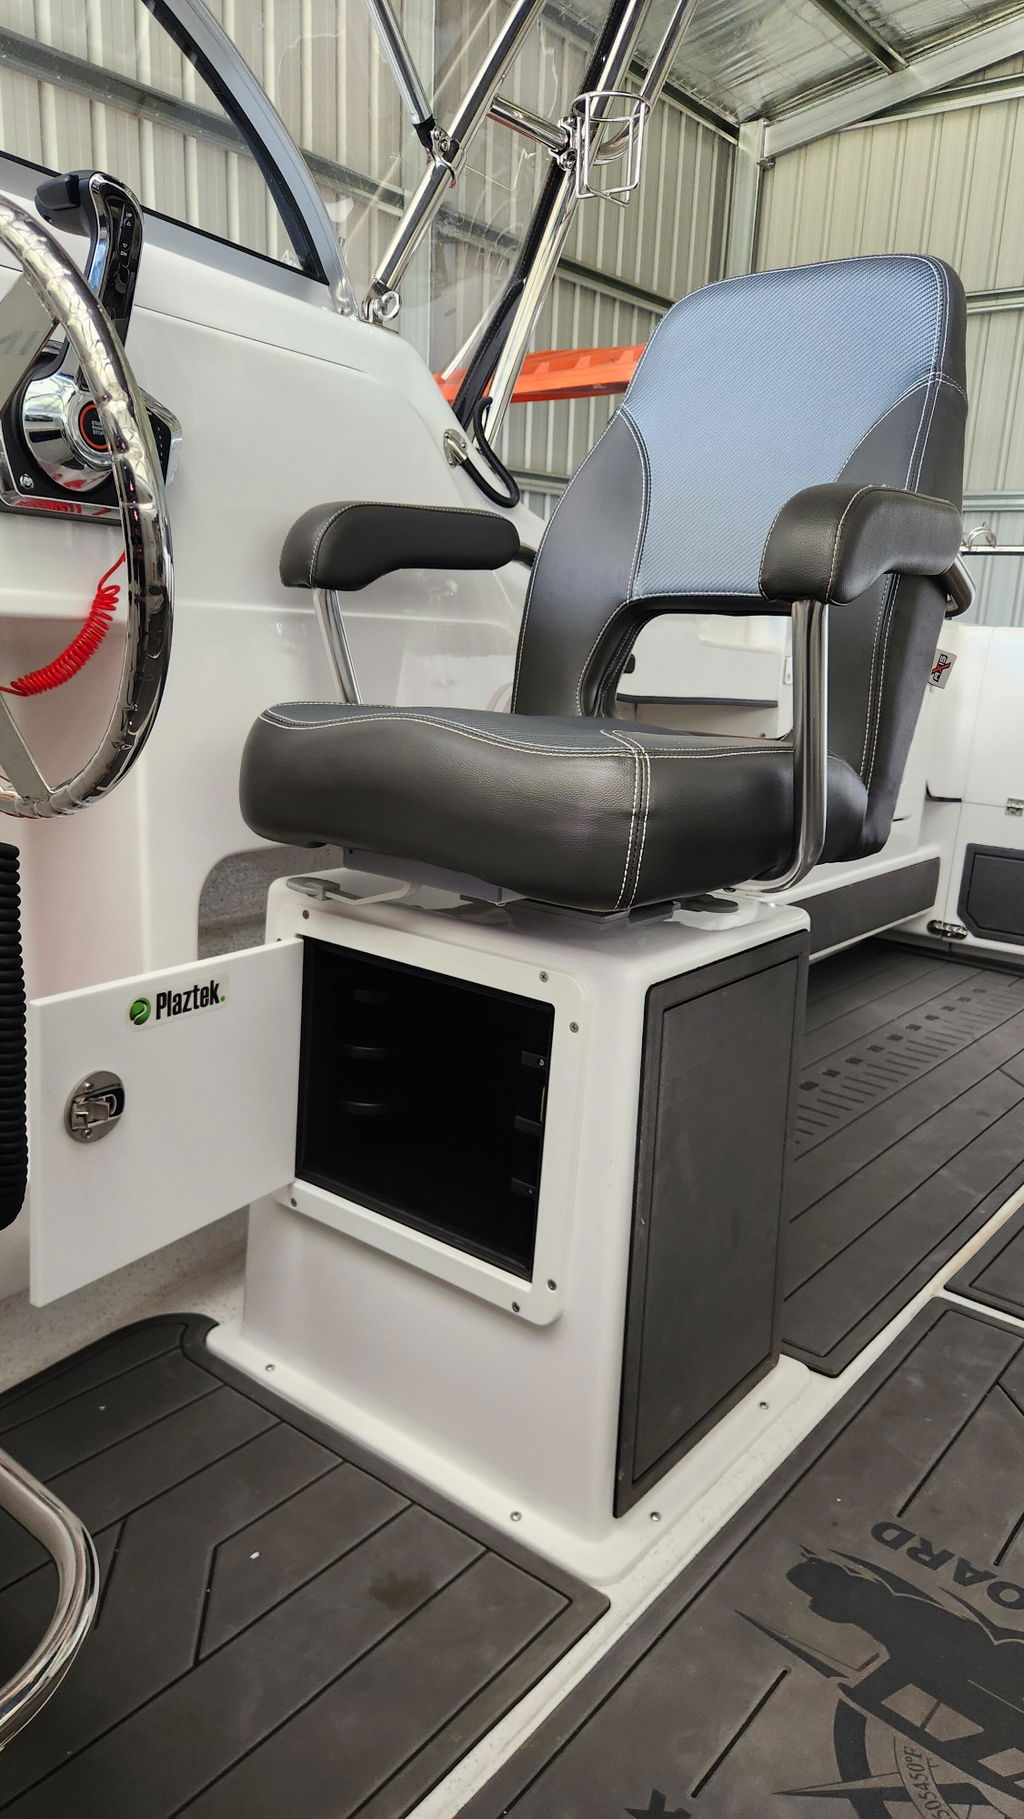
NOTE- With any cabinet over W-300mm x D-200mm and 10kg plus load capacity, it’s a must that a block is required to support the back of the unit making it level and square to the front of the cabinet. Be sure to check the door gap with the 3mm packer that is supplied. This will ensure correct installation of the product.


Prepping for final fit off.
Give the back of the fascia a light sand before fitting up. Using alcohol- based wipes or acetone to wipe down the area will ensure the best bond possible. This will eradicate any contamination that may be on the King StarBoard ® from your hands. We strongly recommend the use of polyurethane adhesive. Applying an even bead will ensure a solid bond.
You can also use 316 S/S screws or aluminium pop rivets to fasten the cabinet in place.
NOTE- When installing the cabinet in aluminium you will be required to run a screw in and out a few times allowing it to cut a thread. This will eliminate breaking the screws when fitting off. We also recommend applying anti-corrosion to the screws when using S/S screws in aluminium.
NOTE- When installing into fibreglass we recommend using Epoxy Resin to seal any timber that was just cut. We recommend applying a good amount of epoxy and letting it soak into the timber as much as possible This will seal the cut area and is the best practice for installation into fibreglass.
From the team at Plaztek.